How To Add A Favicon In WordPress (4 Easy Ways)

Are you looking to add a WordPress favicon to your site?
A favicon is the icon that appears in the browser tabs as you visit websites.
In this post, we’ll walk you through the steps of adding a favicon in WordPress in multiple ways, from the default site icon feature to the manual way.
4 easy ways to change your WordPress favicon
You can see the default favicon many new WordPress sites use demonstrated in the image below:
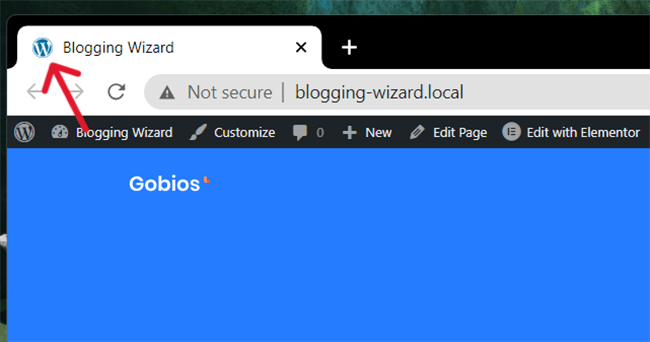
It’s the WordPress logo, though some hosts, such as Bluehost, add their own favicons to new sites hosted on their servers.
No matter what your favicon looks like at the moment, we’re going to learn how to change it.
You can use one of four possible methods:
- WordPress customizer
- WordPress plugin
- Your theme
- Adding it manually
Let’s start at the top.
1. Use the WordPress customizer
Here’s the easiest way to change your WordPress favicon:
- Make sure you have a WordPress-friendly favicon image. The standard WordPress favicon size is 512px x 512px image in PNG, ICO or GIF format, though PNG is recommended.
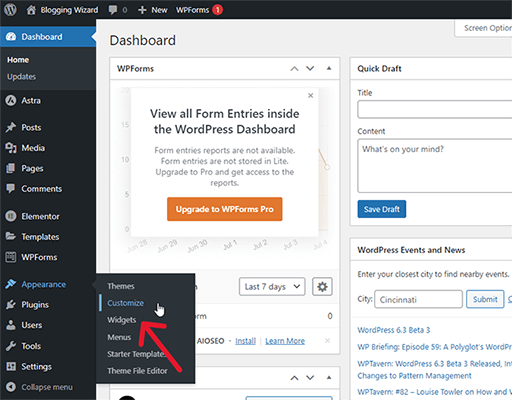
- Go to Appearance → Customize.
- Open the Site Identity tab.
- Click Site Icon.
- Upload your favicon image file.
- Click Publish.
Let’s walk through these steps.
1.1 Make sure you have a WordPress-friendly favicon image
A WordPress favicon should be a square image, specifically 512px x 512px. You can read our tips on creating WordPress favicons below.
The image should be in ICO, PNG or GIF format, but we recommend using a 512px x 512px PNG image for better support all around.
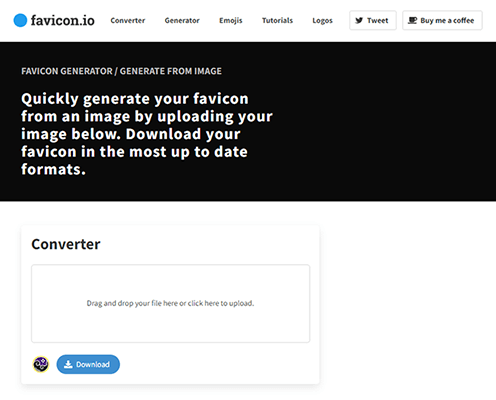
If you downloaded an icon from an icon library site and it only came in SVG format, use a site like Favicon.io or CloudConvert to convert it.
There is a plugin called SVG Favicon that allows you to upload SVG favicons to WordPress, but we recommend using one of the methods in this post (especially the current method, Method 1) as they have the best long-term support, meaning your favicon image will be less likely to break in the future.
1.2 Open the WordPress customizer
Open the WordPress customizer, either by going to Appearance → Customize in the left-hand admin menu while browsing the WordPress dashboard or by clicking the Customize button in the top admin bar while viewing the frontend of your site.
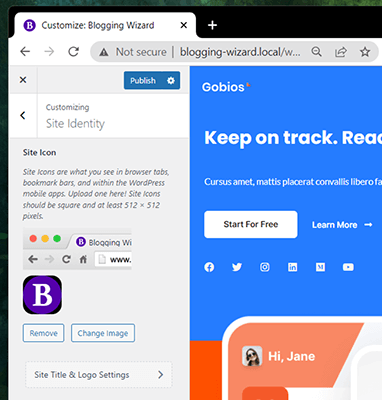
1.3-4 Edit site icon
You should be viewing the WordPress customizer by now.
Open the Site Identity tab…
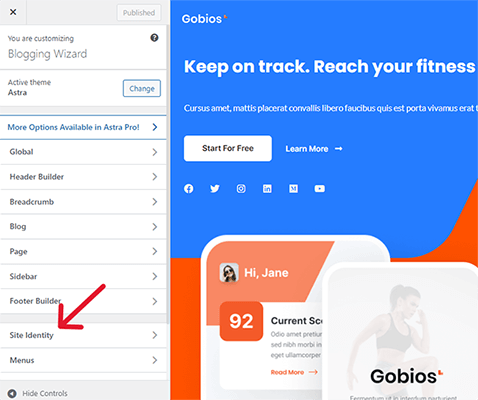
…and click the Select Site Icon option there.
1.5 Upload your favicon image file
Use the WordPress Media LIbrary to upload your favicon image file.
If you come across an error message that says “Sorry, you are not allowed to upload this file type” while trying to upload an ICO file to your site, use the PNG edition instead.
Favicon.io gives you multiple files in a ZIP folder when you use it to convert SVG files, including a 512px x 512px PNG version.
Favicon.io will name it “android-chrome-512×512”. Just rename it to “favicon,” and you’ll be good to go.
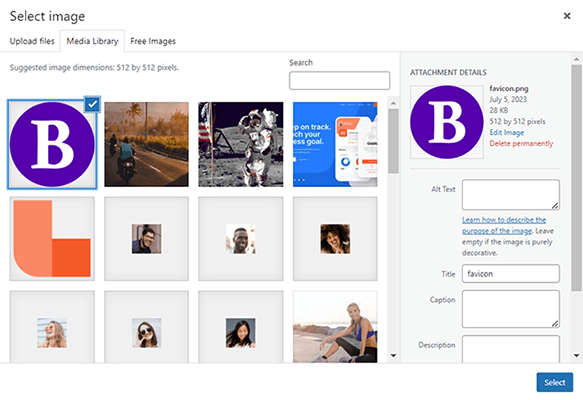
Make sure the favicon image is selected, then click Select.
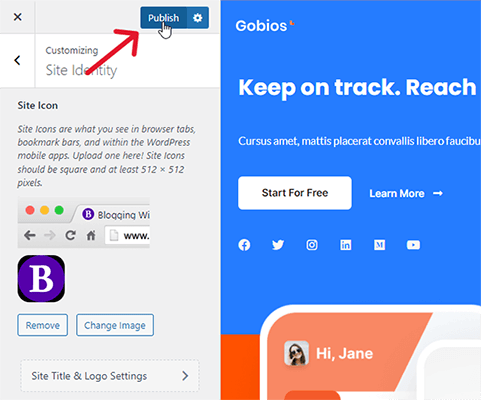
1.6 Save your new favicon image
Now, the favicon image you selected should appear in the browser tab for your site.
Click Publish to save it.
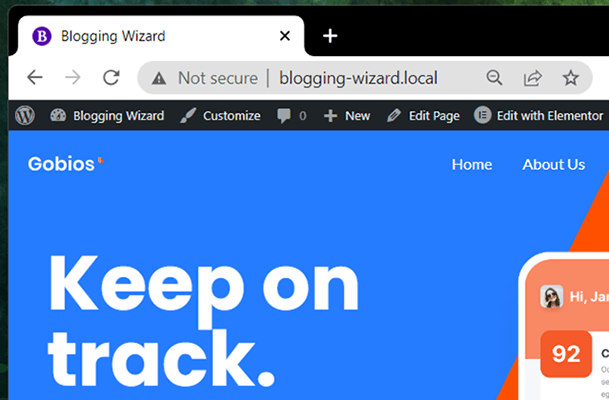
Now, you should see your new favicon image in the browser tab your site is opened in.
2.1 Use a WordPress Favicon plugin – plugin 1
Here’s how to add a favicon to WordPress using the plugin method:
- Install and activate Favicon by RealFaviconGenerator.
- Go to Appearance → Favicon.
- Click Select File from Media Library, and upload it to the media library, if necessary.
- Click Generate Favicon.
- Configure your favicon’s appearance.
- Click Generate Your Favicons and HTML Code.
2.1.1 Install the plugin
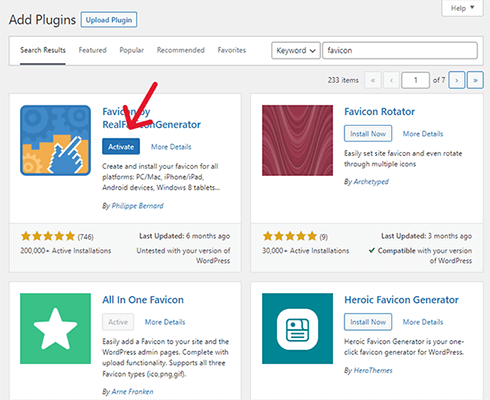
Go to Plugins → Add New, and search for “favicon.”
Then, find Favicon by RealFaviconGenerator, and click Install Now and Activate.
2.1.2 Open the plugin’s settings
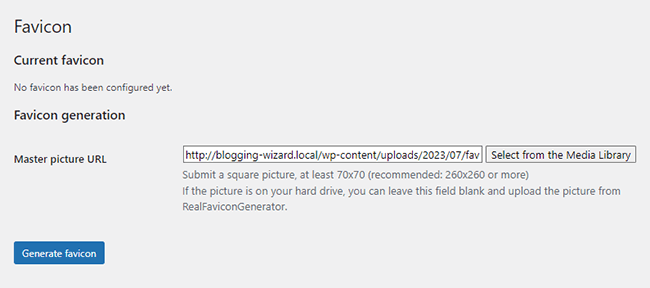
Go to Appearance → Favicon.

2.1.3 Upload to and select your favicon image from the Media Library
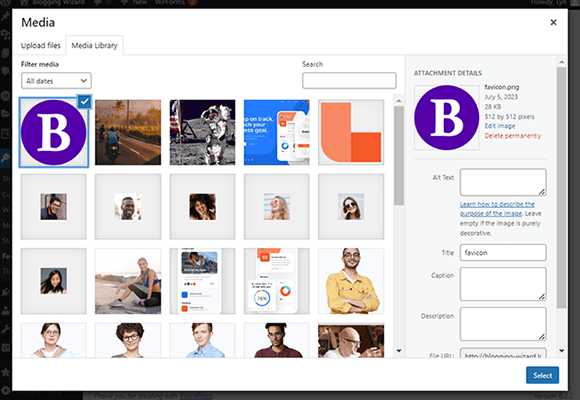
Click the Select from Media Library button.
If you have an existing image in the WordPress media library, select it. If not, go ahead and upload it.
2.1.4-6 Generate your favicon
Click Generate Favicon. This redirects you to the plugin’s site where you can make changes to your favicon before applying it to your site.
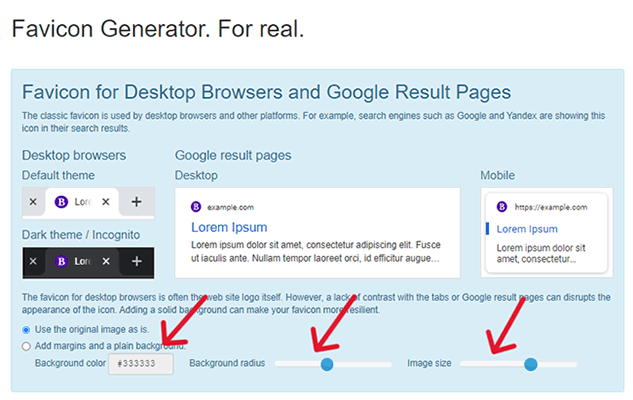
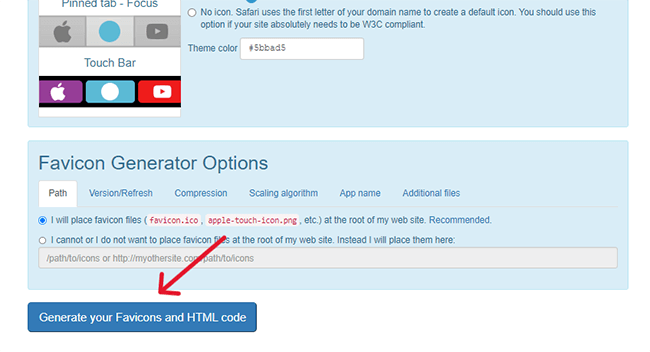
Because you’re using this for a website and not an app, you really only need to configure the settings under the Favicon for Desktop Browsers and Google Result Pages section.
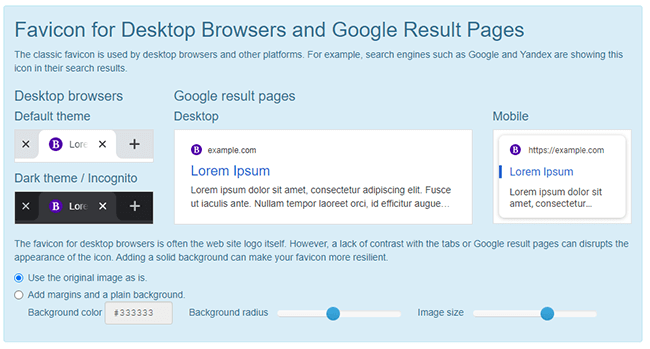
If you uploaded a 512px x 512px image file and like the way your favicon appears in the preview images, you don’t need to make any changes.
However, if you want, you can play around with the settings to customize the appearance of your favicon.
Once you’re done, scroll down to the bottom and click Generate Your Favicons and HTML code.
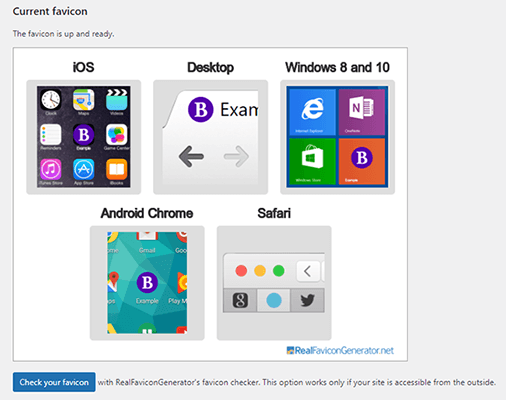
You’ll be redirected back to WordPress where the final installation will take place. You’ll then see previews for your live favicon appearance.
2.2 Use a WordPress Favicon plugin – plugin 2
This is a secondary method to Method 2 in case you don’t want to use Favicon by RealFaviconGenerator.
Follow these steps to add a favicon to your WordPress site using a plugin:
- Install and activate All in One Favicon to your site.
- Click the All in One Favicon menu item.
- Find the Frontend Settings upload method that matches your image type.
- Upload your favicon image.
2.2.1 Install All in One Favicon
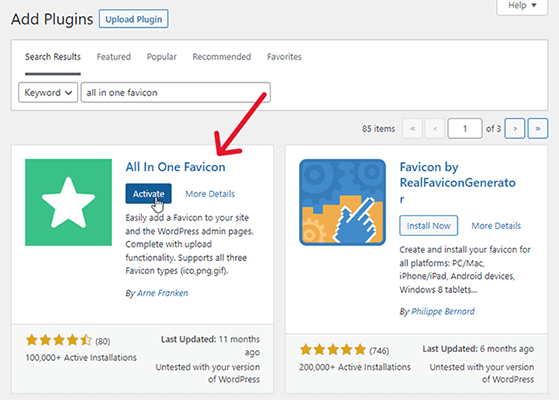
To install All in One Favicon, go to Plugins → Add New, and search for “all in one favicon.”
Then, click Install Now to install the plugin, and then Activate to activate it.
2.2.2 Click the plugin’s menu item
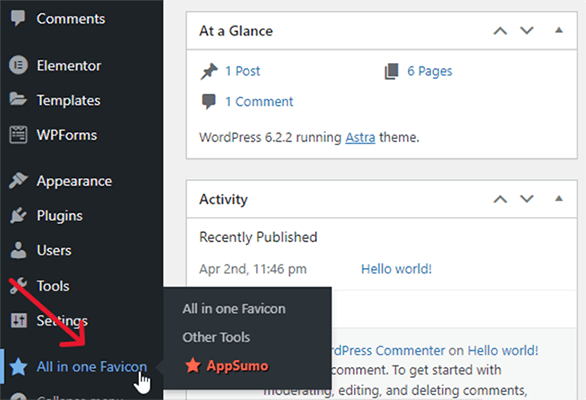
All in One Favicon adds a new menu item to the left-hand admin menu.
Click it.
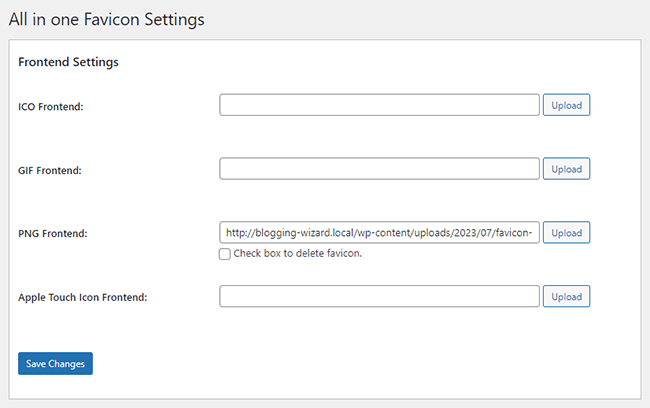
2.2.3-4 Upload your favicon image
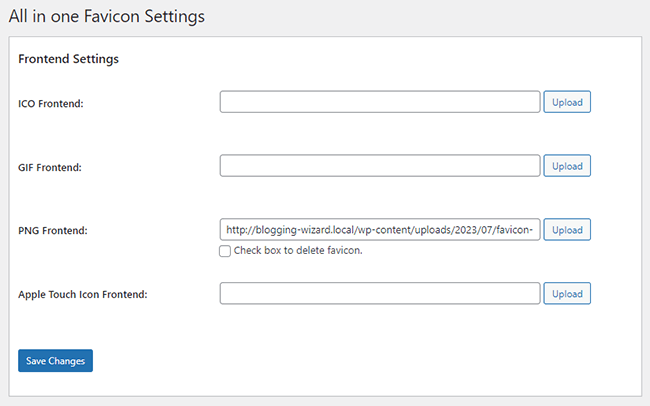
All in One Favicon has support for four icon types: ICO, PNG, GIF and an Apple Touch icon.
Find the one that matches the file type you want to upload in the Frontend Settings panel.
Again, if the file is in SVG format, convert it into an ICO, PNG or GIF file type.
Then, click Upload, and upload your favicon image to the plugin.
It’ll look like nothing happened when you do this, but don’t worry, the plugin still uploaded your favicon image to the site.
All you need to do is click Save Changes to make it appear.
This method only adds a favicon to the browser tab while viewing your site from the frontend.
If you want your favicon to appear while viewing the WordPress dashboard, upload it to the Backend Settings as well.
A warning about using the plugin method
This method can certainly help in a bind when the general WordPress customizer method isn’t working, but we highly recommend finding a way to make that method work over using this method for one simple reason: when you delete a favicon plugin, you also delete your favicons.
So, if you ever find you need to delete one of these plugins, make sure you find an alternative way, like Method 1, to add a favicon to your WordPress website.
Sometimes WordPress plugins lose support or they become a hotbed for security issues. These are just a couple of examples of scenarios that lead many WordPress users to purge plugins from their sites.
3. Using your theme
Themes used to have favicon settings built into the theme options panel.
However, more and more themes are making use of the WordPress customizer, which means many are doing away with their own favicon functionalities in favor of allowing you to use WordPress’ instead.
Astra, for example, has a Site Identity option in its theme options panel, but it simply opens the Site Identity tab in the WordPress customizer in a new tab.
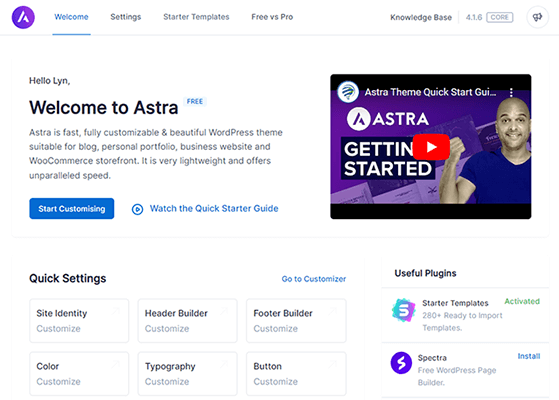
Kadence and GeneratePress do this as well.
If you use a block-based theme, you can actually edit your favicon from the block editor.
Do this either by creating a new page or by going to Appearance → Editor.
Add a new block to the page, and choose the Site Logo block.
Hover over the logo, if one already appears, and click Replace, then either choose the Media Library option or Upload.
Next, upload or choose your favicon image.
Open the settings panel for the block, and enable the Use as Site Icon option.
Then, click Save, and uncheck the Logo option if you want to use a different image for your site’s logo.
Then, click Save again to apply the favicon to your site.
4. Add a WordPress favicon to your site manually
This is the simplest way to add a favicon to your site manually:
- Use RealFaviconGenerator to transform your 512px x 512px PNG favicon image into HTML code.
- Download and extract the favicon package, then upload it to your active theme’s folder.
- Install WPCode on your site.
- Copy and paste the favicon code into the Header section of WPCode.
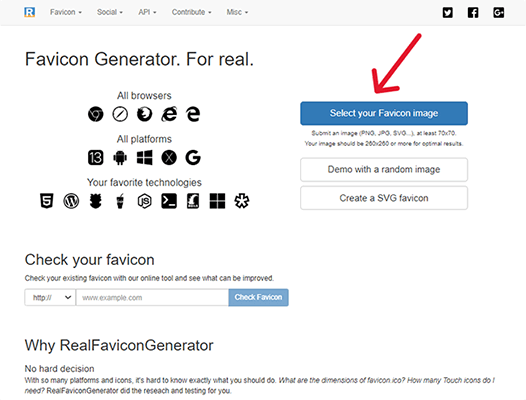
4.1 Generate your favicon HTML code
Go to RealFaviconGenerator’s site, and click Select Your Favicon Image. This should be a 512px x 512px PNG image for best results.
Use RealFaviconGenerator’s settings to configure your favicon’s appearance, if you like.
You shouldn’t need to do this if you created your favicon beforehand and uploaded a 512px x 512px image.
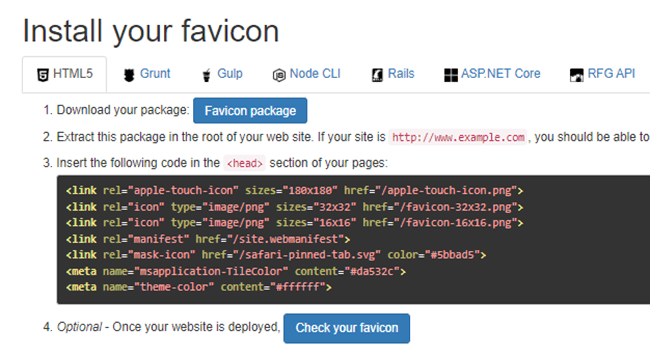
Then, scroll down to the bottom of the page, and click Generate Your Favicons and HTML Code.
You should now have the HTML code for your favicon.
Keep this web page open while you do the remaining steps.
4.2 Upload the favicon package to your theme folder
This step requires you to access your active theme’s folder. You can do this via FTP or your host’s file manager.
We won’t go into details on how to do this as there are plenty of tutorials out there that can help you out.
Instead, we’ll simply instruct you to download your favicon package from RealFaviconGenerator…
[realfavicongenerator-download-favicon-package]
…and extract all files from it.
Then, add all extracted files to your site’s root directory, which is the same folder wp-content and wp-admin are in.
4.3 Install WPCode
WPCode is a free plugin that allows you to add code to theme files without accessing them, which can be overwhelming if you’ve never done it before.
It also lets you add code to your header file without needing to create a child theme.
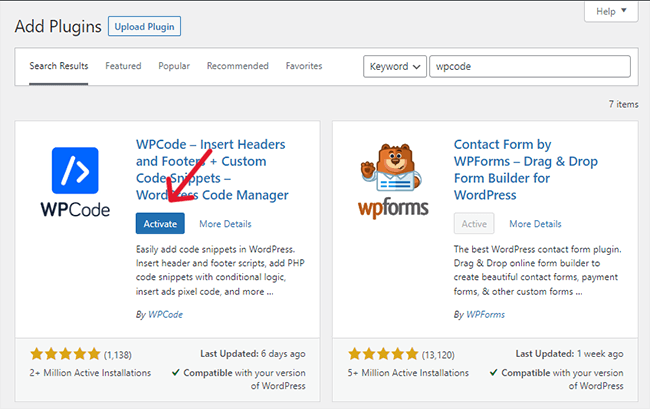
Go to Plugins → Add New, and search for “wpcode”.
Then, install and activate the plugin.
4.4 Paste the code in WPCode
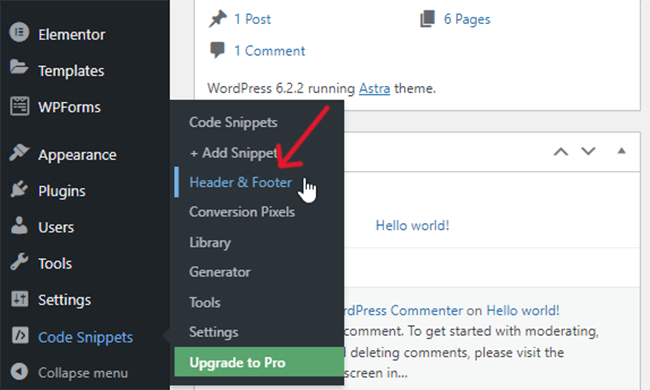
WPCode adds a “Code Snippets” item to your admin menu.
Go to Code Snippets → Header & Footer.
Copy the HTML code from RealFaviconGenerator, and paste it into the Header section of the Header & Footer page.
However, wherever you see the term “href,” add your site’s URL after the quotation mark. Use https if your site uses it.
There are five href attributes in the code, and they are all in a row.
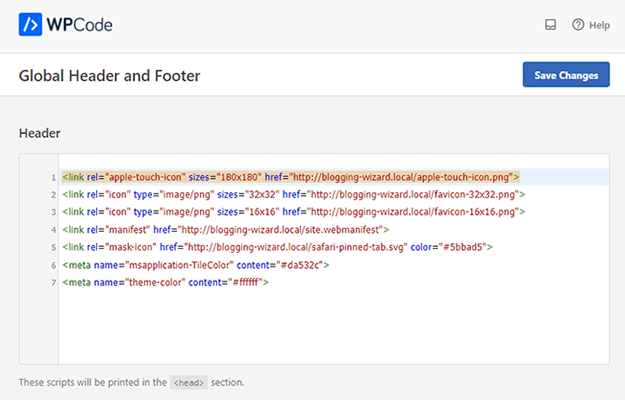
Then, click Save Changes to apply the favicon to your site.
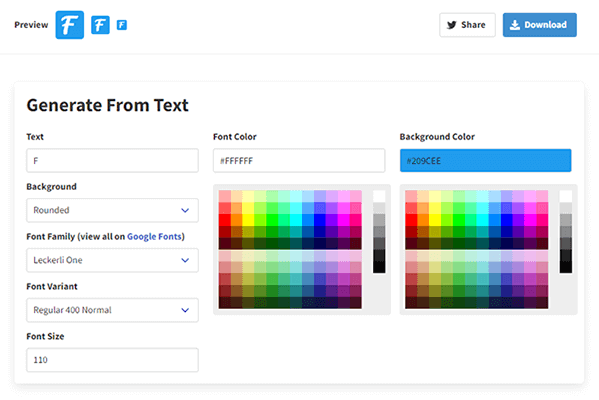
How to create a WordPress favicon
The easiest way to create a custom WordPress favicon is by generating one with Favicon.io. It allows you to create a favicon out of an initial.
You can edit the favicon’s font, font color, background color and border shape.
If you want to use an icon as a favicon icon, download or purchase one from an icon library that offers attribution-free icons.
Choosing an attribution-free icon will allow you to use the icon image as part of your brand’s identity without facing copyright issues, though you should look into each library’s policy on icon use just to be sure.
The best part about icon libraries is the way in which they allow you to download icons in any format and at any size.
Final thoughts
Your site’s favicon isn’t the most important aspect of it, but it can help you establish brand awareness and a sense of unity in your brand’s design.
We highly recommend using Method 1 on this list as it’s the easiest to accomplish, but you shouldn’t have too much trouble with any one.
Before you create your favicon, browse the web for a few days as usual, and start paying attention to the favicons other sites use. It’ll be great inspiration!