How To Enable And Disable Google AMP In WordPress

Do you want a simple way to take advantage of Google’s accelerated mobile pages framework?
In this tutorial, we show you how to enable Google AMP on your WordPress site.
However, because many publishers have experienced drops in conversion rates due to technical issues after enabling Google AMP, we’ll also show you how to disable it.
And just to be clear: we’ve provided this tutorial at the request of our readers but we don’t recommend using Google AMP.
How to enable Google AMP in WordPress
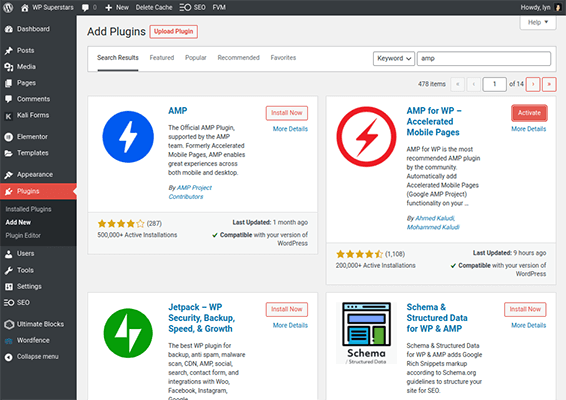
Step 1: Install a Google AMP WordPress plugin
Warning: These plugins integrate Google AMP with your site automatically and will cause 404 errors if you delete it without following the proper steps (e.g. adding redirects, etc). Do your research, and make sure Google AMP is right for your site before continuing.
Automattic has their own AMP plugin, but it has an average star-rating of 3.8 out of 5 stars and limited features, so we’re going to use a third-party solution instead.
AMP for WP has an average star-rating of 4.4 out of 5 stars and allows you to fully customize the look and behavior of AMP pages.
It has a free version, so you can install it from the WordPress admin by installing the one made by the Kaludi brothers.
Choose a setup option when prompted. We’ll be using the Advanced setup for the purpose of this tutorial.
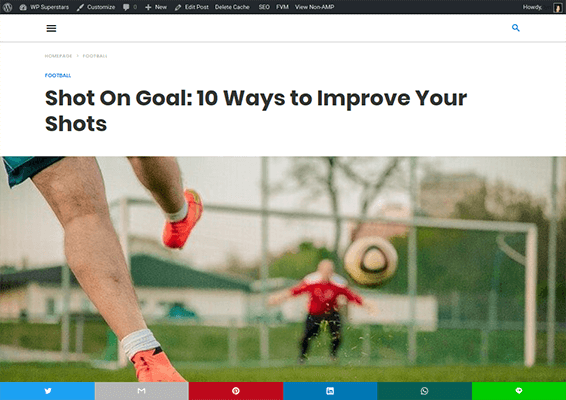
The plugin automatically adds Google AMP to your site upon activation. Open one of your latest posts and add “/amp” to the end of its URL, then refresh to see the way the plugin has implemented AMP on your site.
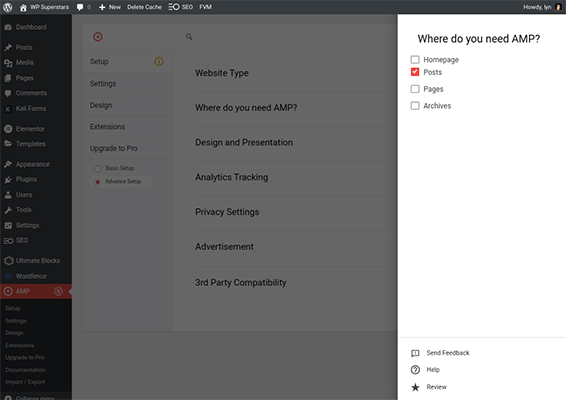
Step 2: Configure basic settings
Configure the following settings using the plugin’s Setup settings panel:
- Where do you need AMP? – Choose the post types you want to optimize with AMP.
- Design and Presentation – Add a logo in 120 x 90px format, and assign a global color to use on all AMP pages.
- Analytics Tracking – Add tracking IDs for multiple analytics tools.
- Privacy Settings – Enable the cookie notification bar if your site uses them, and let users know your site is GDPR compliant if relevant.
- 3rd Party Compatibility – Set up integrations with your SEO plugin (nine integrations to choose from), Elementor, Structured Data, Ads for WP and PWA for WP.
Step 3: Configuring additional settings
There are a ton of different settings you can configure in AMP for WP. For instance, if you share your content to Facebook, you’ll likely want to head to the SEO settings page and enable the OpenGraph Meta Tags option.
If you already have a minification and caching solution installed, you’ll also want to disable the Minify option in the Performance section if your solution is compatible with AMP for WP.
Sift through the rest of the technical settings, and configure any that apply to your site.
Another important aspect you can customize even further is design. For instance, if you purchase a premium license for at least $149/year, you can use themes.
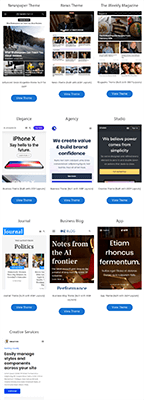
You can also customize styles for links, buttons, typography, your sidebar, social sharing and more.
How to disable Google AMP in WordPress
Unfortunately, disabling Google AMP for your WordPress site isn’t as easy as deactivating and deleting the plugin you used to implement it. You’ll notice this as soon as you try to load any non-AMP version of a page you’ve implemented AMP for and are redirected to a 404 error page instead.
Plus, the entire process of deactivation can take up to two weeks as you’ll need to wait until Google stops indexing your AMP-enabled pages.
Note: This method is optimized for AMP for WP.
Step 1: Prevent Google from indexing AMP pages
Open the SEO section of AMP for WP’s Settings panel, and add the following code snippet to the Head section:
<meta name=”robots” content=”noindex,follow”/>

Save your changes, and wait a week or two. This gives Google enough time to stop indexing your AMP-enabled pages.
Step 2: Deactivate the plugin, and set up redirects
Deactivate and delete the AMP for WP plugin once indexing has slowed.
Next, install a free plugin called Redirection as a simple way to fix 404 page errors leftover by AMP.
Go through the setup wizard, then head to the Redirection section.
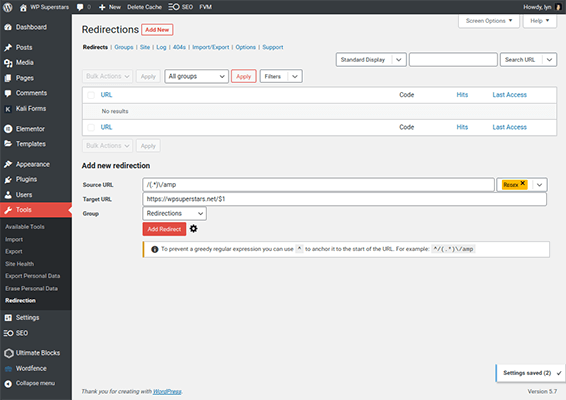
Add this snippet of code in the Source URL field to setup redirects for all AMP-enabled pages rather than a single one, and select Regex as a URL option:
/(.*)\/amp
Add your domain’s URL to the Target URL field, but add “/$1” to the end of it:
https://yourdomain.com/$1
Select Redirections as a Group, then click Add Redirection.
To test the redirection, simply load one of your AMP pages to see if it redirects you to the non-AMP version instead.